
Introduction
How do you keep product tutorial videos current while your product continues to evolve? For a long time the honest answer was that you do not. You record once, and watch as your videos slowly drift out of date. You tell yourself you will reshoot after the next release. That reshoot never quite happens.
I did not want that for PAC Hub, the SaaS I am building for Parent Advisory Councils. I wrote about why I started it in an earlier post. The product is under active development, which means screens change. That does not mean I cannot have full-featured, up-to-date tutorials. As a solo founder, these tutorials are how I onboard new users and help them get the most out of the product.
I saw a path to creating full-featured, up-to-date tutorials without the manual labor of recording and editing. The source of truth should be a script, and a pipeline to generate videos. The pipeline turns the simple scripts into beautiful high-definition videos, with voiceover, captions, and a title card. The videos are then uploaded to YouTube and embedded on the marketing site. At any point I can re-run the pipeline to regenerate the videos, for voiceover adjustments or to reflect UI changes in the product.
Spoiler Alert: It Works
Hand Recording Was Never an Option
For a solo founder, a manual recording workflow is a non-starter. There is no quiet-room calendar, no editor, and no spare evening to reshoot when a button moves. I also do not have a support team waiting to walk each PAC through sign-in on a call.
I wanted training videos, and in-app tutorials, for the same reason. My customers should be able to learn the product without me. Every school that needs a private screen-share is time I cannot spend building. The guides had to exist. They also had to survive the fact that I am still building.
Generating the videos was the only way that combination works. Playwright was already in the repo for end-to-end tests. The walkthroughs needed the same locators. The gap was everything a test does not care about. A visible cursor. A spoken script that matches what is on screen. A beautiful title card. Multiple languages. Captions. A way to glue it all together into a smooth professional video.
A Script and a Spec
Each tutorial video starts with a script and a spec. The script is the voiceover and the title card. The spec is what the viewer sees and drives the Playwright actions.
A script is some essential metadata for generation and a list of beats. Each beat is a single action with the voiceover text for that action.
{
  "id": "sign-in",
  "title": "Sign in",
  "section": "getting-started",
  "audience": "caregiver",
  "subtitle": "Sign in to PAC Hub",
  "titleVoiceover": "This walkthrough covers signing in to PAC Hub.",
  "voice": "liora",
  "language": "en",
  "beats": {
    "welcome": "This is the sign-in page for your school. You will sign in here to access your tools.",
    "fillEmail": "Enter the email you initially used to register.",
    "fillPassword": "Then enter your password.",
    "signIn": "Click the Sign in button.",
    "dashboard": "You will first land on your dashboard after signing in. The dashboard is your home in PAC Hub."
  }
}
The spec is a Playwright test which drives the browser, captures the actions, and records the video. The spec ties to the script through the beat ids. This drives the timing of the video, voiceover and captions.
Sign in is the simple case. The first beat is the login page, so the spec can start on camera.
test('sign in', async ({ demo, page }) => {
  await demo.beat('welcome', async () => {
    await page.goto(tenantUrl(account.subdomain, '/login'));
    await expect(page.getByLabel('Email')).toBeVisible();
    await expect(page.getByRole('button', { name: 'Sign in' })).toBeVisible();
  });

  await demo.beat('fillEmail', async () => {
    await demo.type(page.getByLabel('Email'), account.email);
  });

  await demo.beat('fillPassword', async () => {
    await demo.type(page.getByRole('textbox', { name: 'Password' }), account.password);
  });
});
The specs are real Playwright tests, and can be run in check mode which gives me quick feedback that the site has drifted from the previous videos. If the tutorial tests fail, I know a button has moved or a key part of the UI is missing and I need to update the script and spec. The tutorial specs are a regression suite that happens to be able to talk.
Playwright as the Camera
When it is time to record, I run the same specs headless on my machine. There is no window and no one at the keyboard. Each beat becomes its own clip, with a little padding to allow for synchronization.
Headless Chromium has no cursor. A browser-based tutorial needs one, so the runtime injects a simple pointer overlay and moves it to whatever the beat is about to click or type. That trick keeps the whole generation headless.
The picture comes from Playwright's screencast API, not the built-in video recorder. Capturing frames gives better control for alignment and timing.
Voiceover on a Budget
The narrator is Grok text-to-speech. A wide array of incredible multilingual voices. For my application, at a cost of $15.00 / 1M chars, the price is easy to live with. I use a local cache with a composite key to keep costs down even further. Most renders hit the cache unless the script changes.
The xAI TTS API allows replace maps to fix pronunciation without affecting the subtitles. This is crucial for technical terms and acronyms. I found cases where the voice would spell out P A C instead of saying PAC. That sounds unprofessional and breaks the flow of the video.
export const TTS_REPLACE = {
  PAC: 'pack',
};
The first two videos, Sign in and Inbox, are 322 and 594 characters respectively. Grok TTS is billed per million characters. At the current list price that is about a cent and a half for both videos, and the next render of unchanged beats is free. A library of fifty clips at this length still lands well under a dollar. ffmpeg and Playwright run on the same machine I already use to develop.
That is the part that changed my mind about video. The pipeline and TTS costs brought the whole process from an impossible task to everyday work.
Title Cards
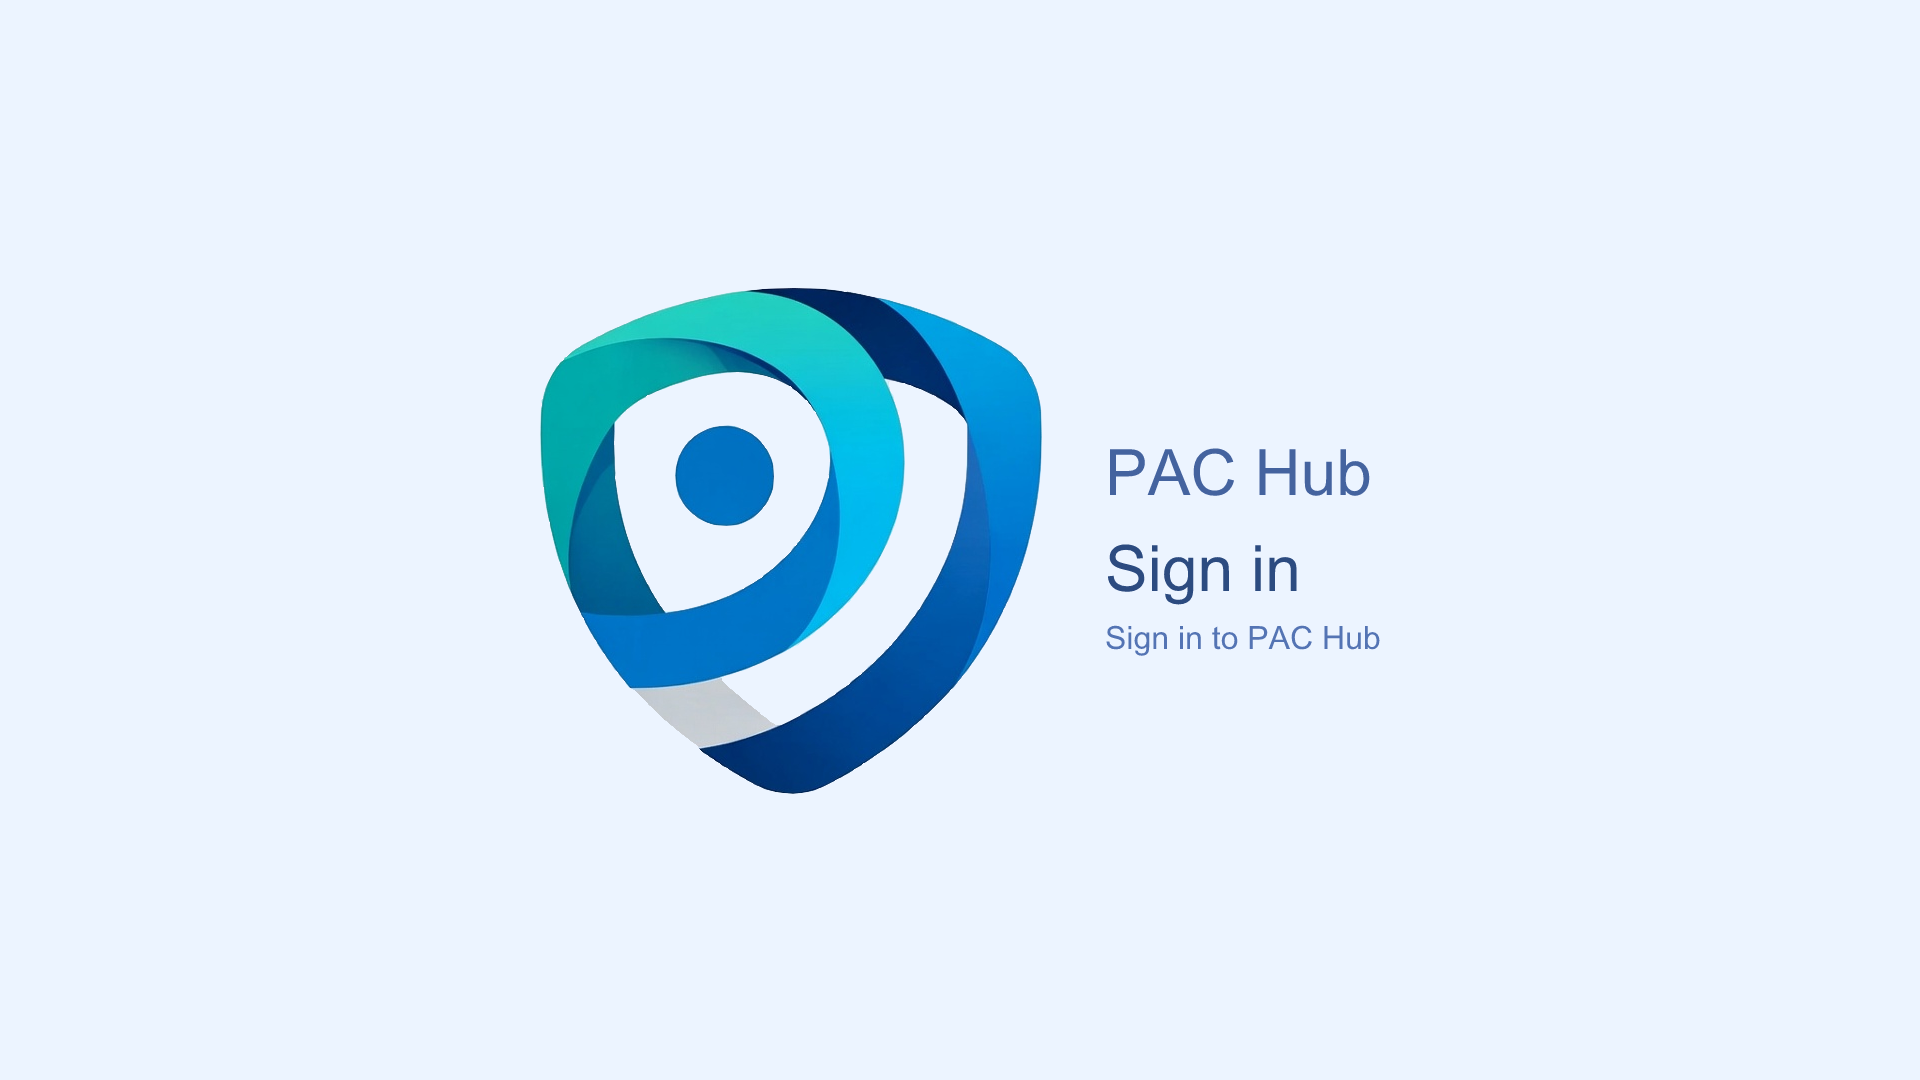
Another area that would have required manual design work is the title card. It was important to me to have consistent branding and visual identity in the videos. These title cards match PAC Hub's branding, introduce the tutorial and are used as the thumbnail for the video.
The title cards are created by building an SVG from the product colours, the logo, and the title text in the script. For each video I generate a title card and save it as a high resolution PNG.
Timing
Timing is what makes the clips feel like a video instead of a slideshow with a voice stuck on top. Each beat has a screen recording and a voiceover, and those two lengths almost never match. If the sentence is longer than the click, the last frame holds. If the action takes longer than the line, the audio sits quiet until the picture is done. Either way, one beat becomes one duration before the next one starts.
The title card has the same problem. It has to stay up long enough to read the introduction, then fade into the first beat without the voiceover starting mid-dissolve.
Captions
If the voiceover is generated from the script, the captions should be too. I have enough timing data to generate properly formatted SRT files.
Longer beats get split so YouTube can show short lines instead of a wall of text. Two lines at a time, wrapped so they stay readable on a phone.
The files are named by language, sign-in.en.srt, so a French or Chinese track can sit beside the English one later. PAC Hub already ships those locales on the product and the marketing site. The same render can grow a caption file per language without a new pipeline.
1
00:00:00,000 --> 00:00:02,950
This walkthrough covers signing in to PAC
Hub.

2
00:00:03,950 --> 00:00:06,271
This is the sign-in page for your school.

3
00:00:06,271 --> 00:00:08,661
You will sign in here to access your
tools.
Running the Pipeline
The day-to-day loop is short. Check the specs when the UI might have moved. Render when the check is green. Upload the video and the captions. The marketing site picks up the new clip.
That is the whole point of generating instead of recording. A release that moves a button fails the same tests that recorded the last video. I fix the spec, run the pipeline again, and only pay for voiceover that actually changed.
Conclusion
I used to think high quality training videos would be too costly, and I disliked how often the clips on a product site were out of date. PAC Hub needed both. Good videos, and videos that still match the product.
I found a way to build an inexpensive pipeline that does most of the work. A script and a spec. A recorder, a voice, a cut. Re-run it when the UI moves. Pay pennies when the copy actually changes.
Next I will connect the YouTube Data API so a render that changed can upload itself. The pipeline already makes the film. It should ship it too.
Automate all of the things.